General Entry
The General Entry menu is used to record all transactions that are not classified into specific categories such as Expenses or Receipts. Here, you can record transactions such as general payments or receipts that affect company accounts.
Examples of transactions recorded in General Entry include:
- Transactions that do not fall into Expenses or Receipts categories, such as payment of inter-account debts or receivables.
- Payments for goods or services not recorded in other specific expense categories.
- Receipt of funds not directly related to sales revenue or services.
General Entry serves as a place to record more general transactions that are not classified into specific categories in the accounting system.
1. Opening the General Entry page
To open the General Entry page, follow these steps:
- Open the Reports menu in the sidebar on the left side of the page.
- Click General Entry.
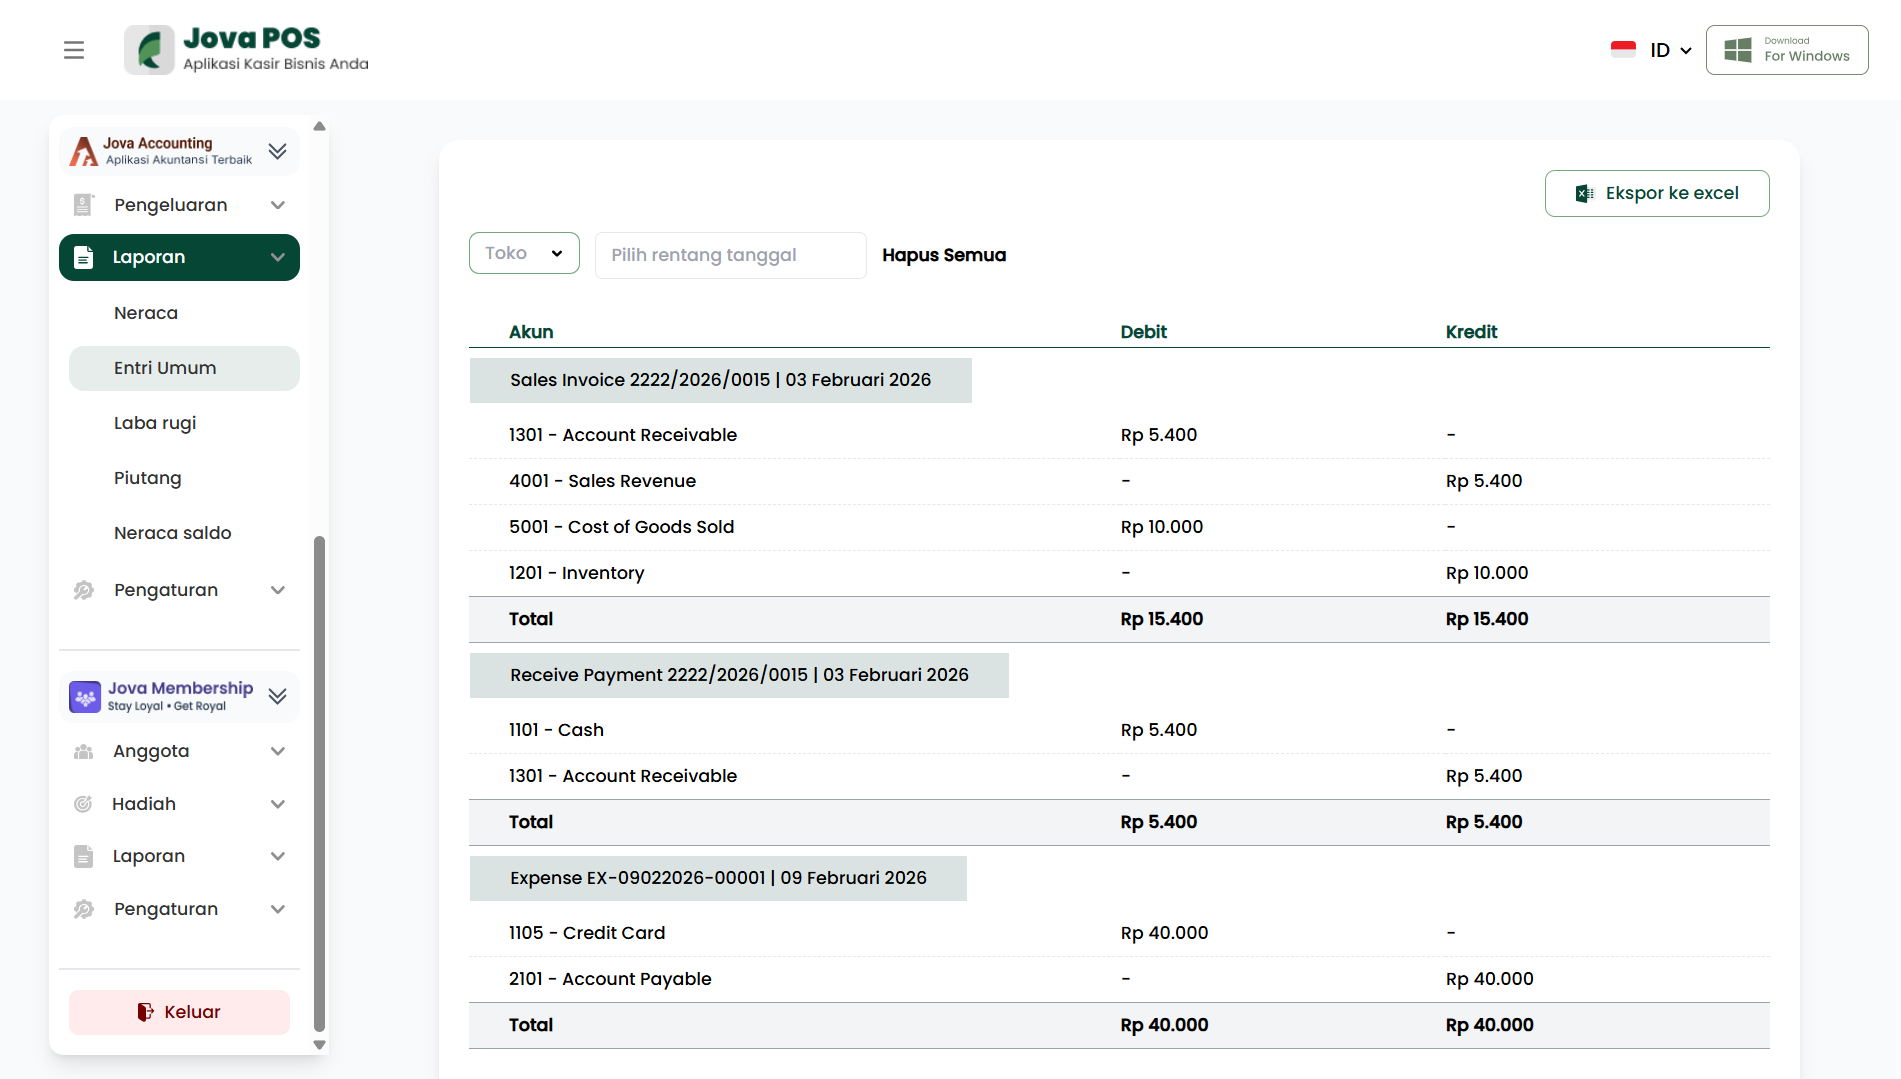
This page will display a list of recorded transactions for the selected period.
2. Setting report filters
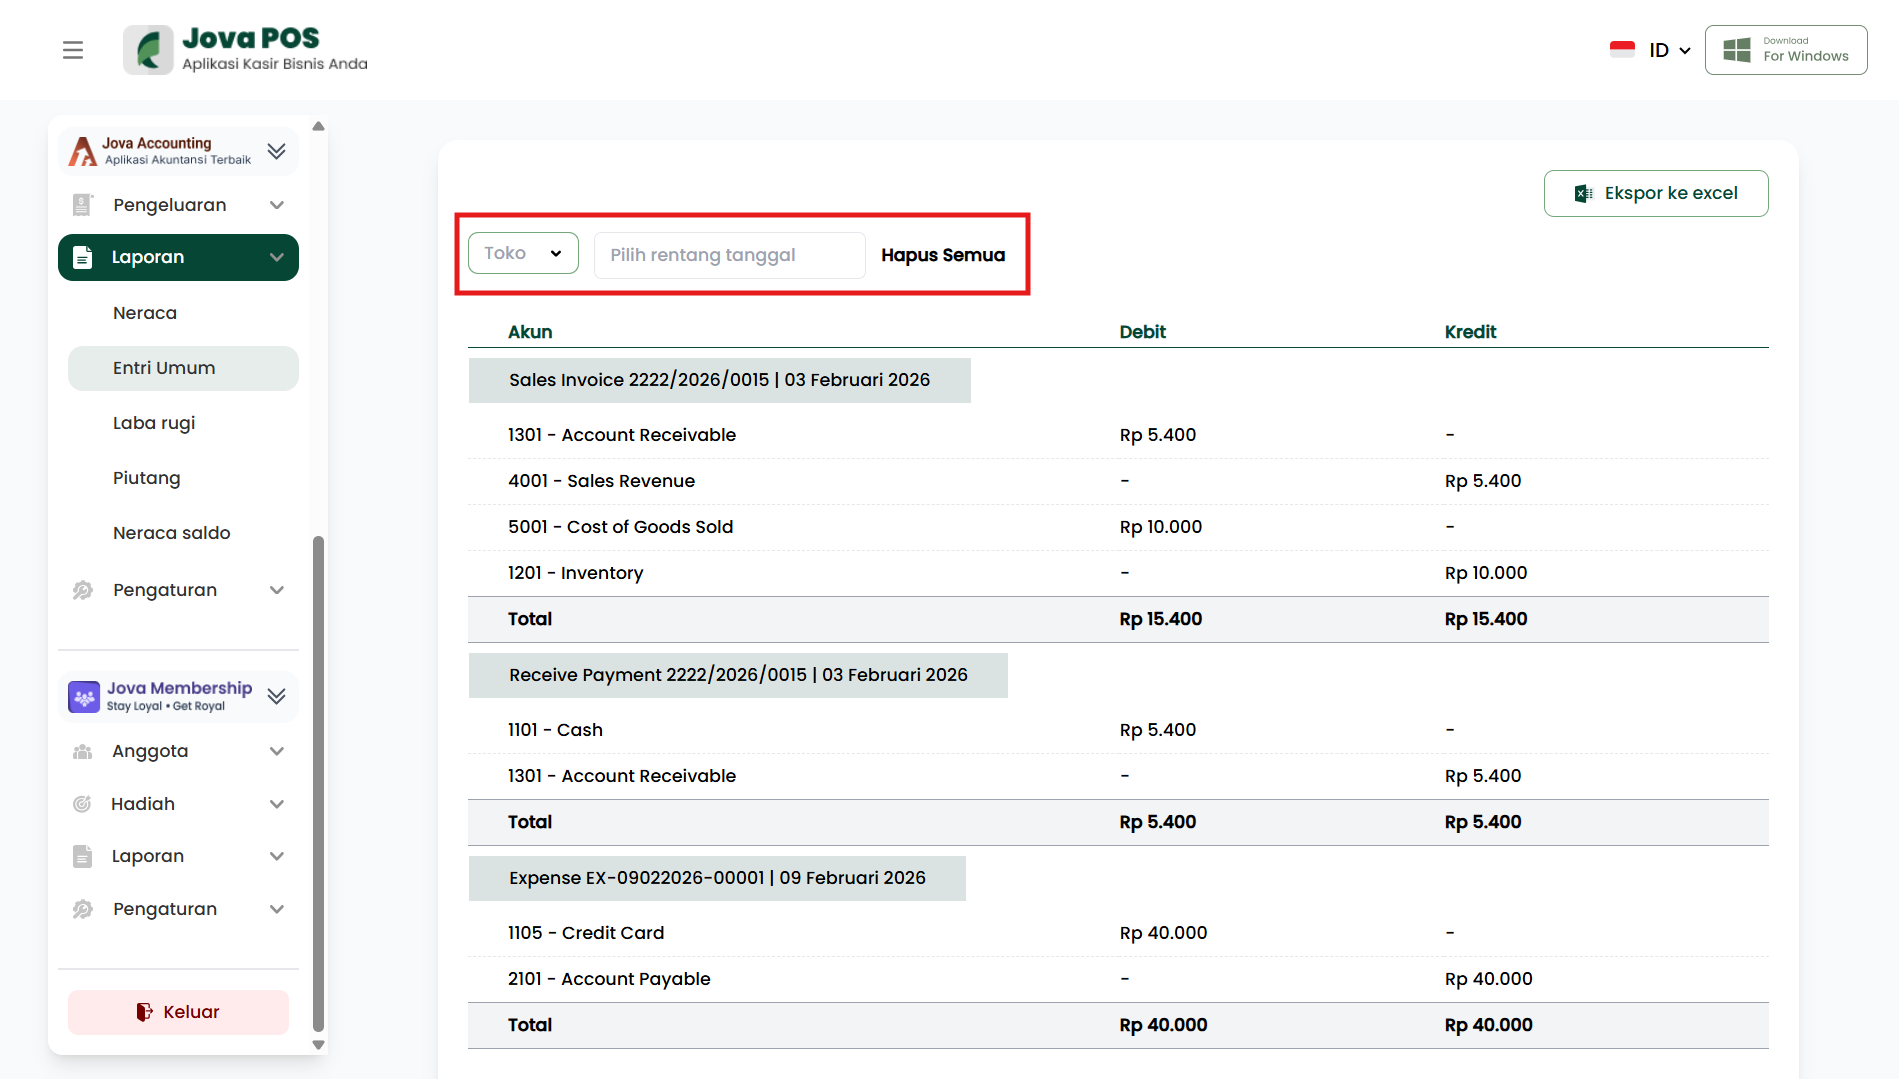
At the top of the page, you will find filter controls that allow you to filter transaction data as needed.
Available filters:
-
Store
Select the store/outlet for which you want to view general entries. -
Select date range
Specify the date range for the transactions you want to display. This filter makes it easier to view data for a specific period. -
Clear All
Resets all filters to their initial state, displaying all recorded transaction data.
Tips:
- Make sure to select the correct Store and date range so the displayed data is relevant.
- Use the appropriate filters if you want to compare data between multiple stores or specific periods.
3. Understanding General Entry report sections
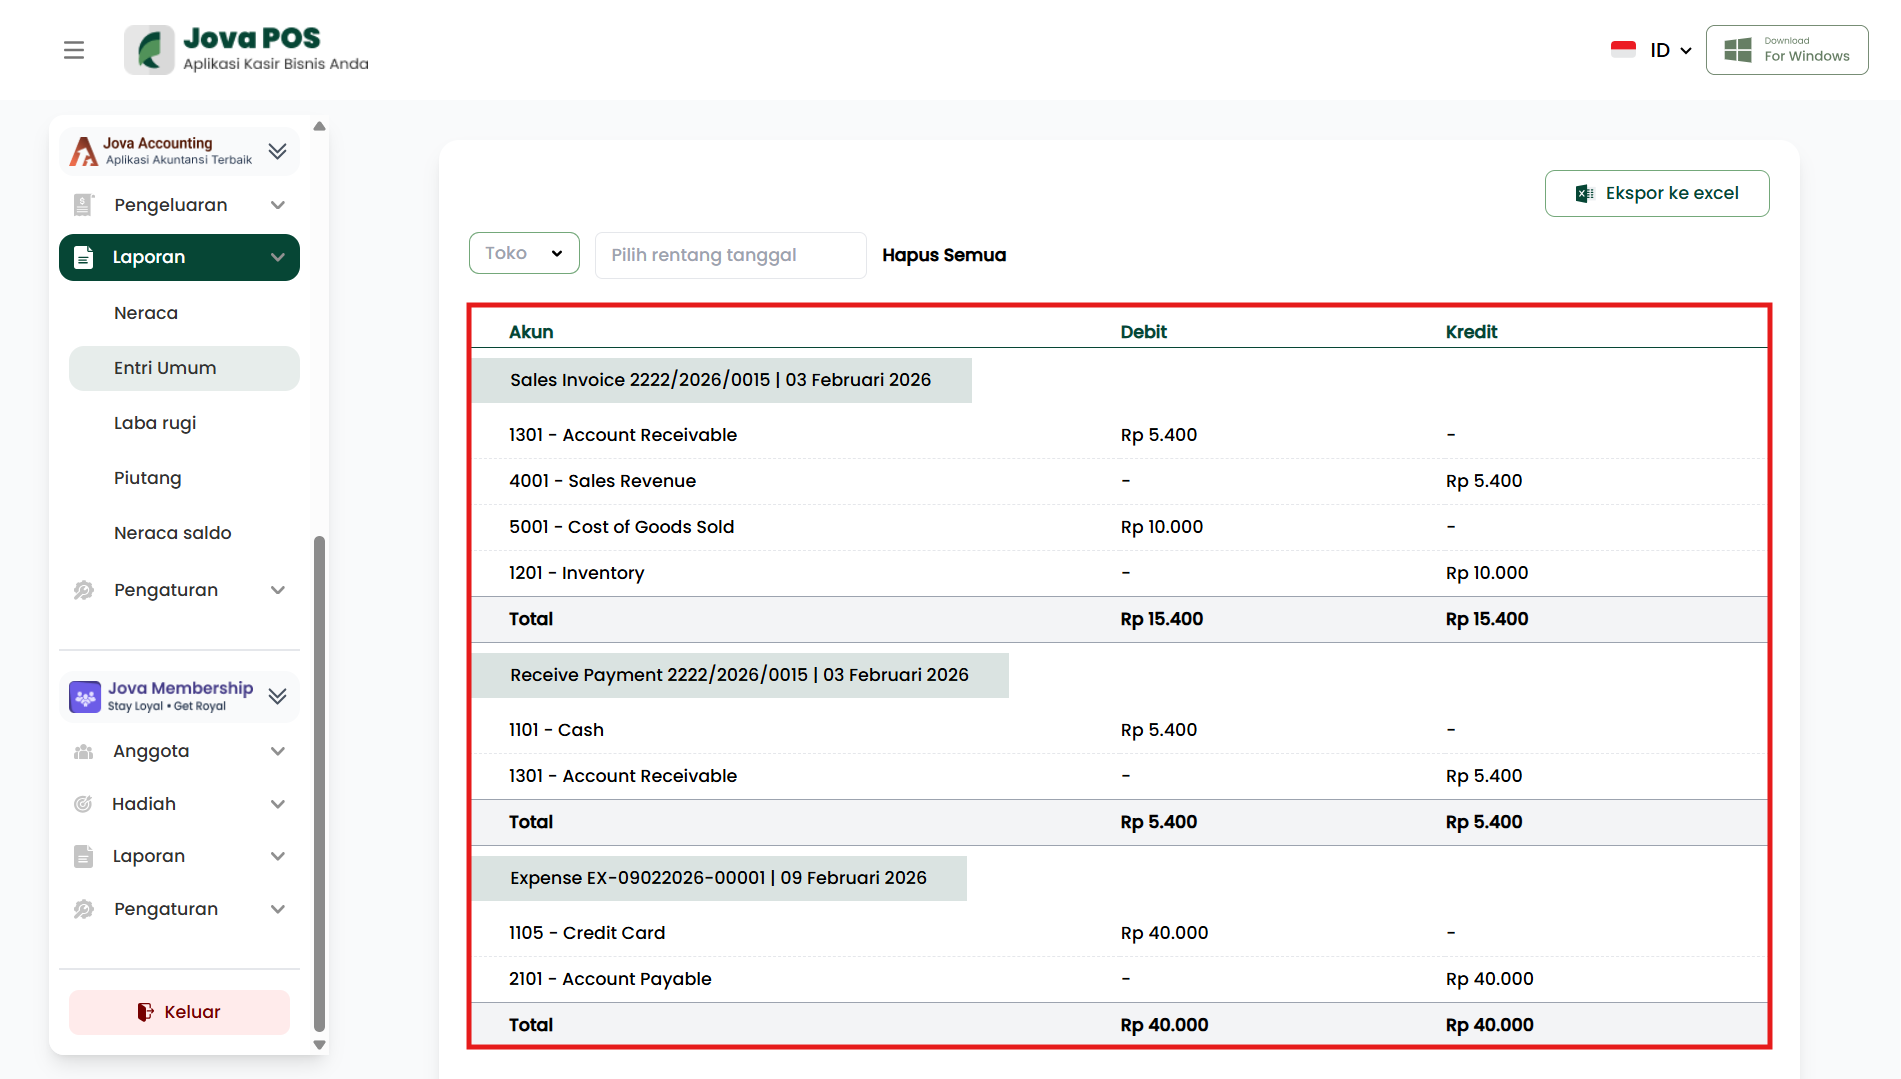
The General Entry report contains detailed information about recorded transactions. These transactions usually include the debit and credit accounts affected by the transaction.
Common columns:
- Account: The name of the account involved in the transaction.
- Debit: The amount recorded on the debit side.
- Credit: The amount recorded on the credit side.
- Total: The total debit and credit amount of the transaction.
4. Exporting the report to Excel
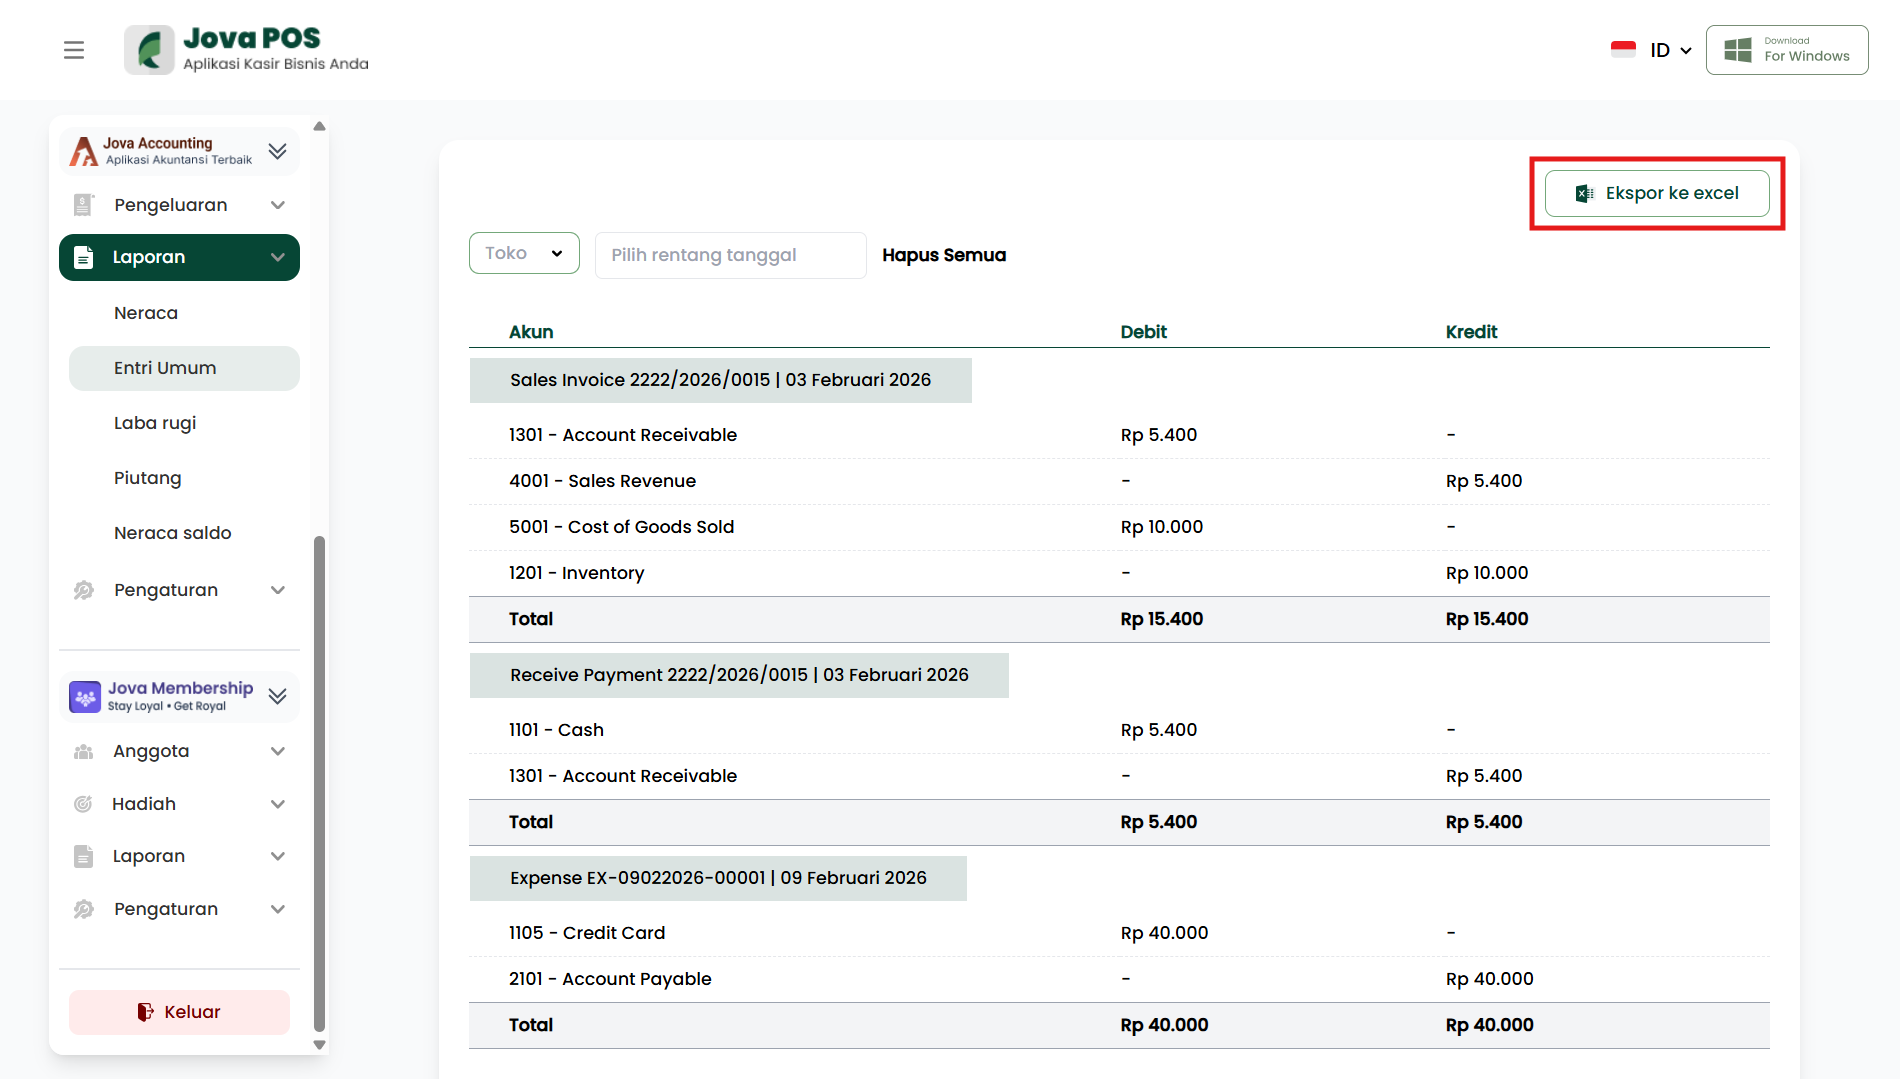
If you want to download the general entry report for further analysis, use the Export to Excel feature.
- Make sure the Store and date range filters are adjusted.
- Click the Export to excel button at the top right of the page.
- The system will download the report file in Excel format.